Setting up a dedicated charging station for your devices can simplify your daily routine and reduce clutter around your home or office. With multiple gadgets like smartphones, tablets, smartwatches, and wireless earbuds, having a central charging spot helps keep everything neat and fully charged. This guide will walk you through the process of creating an effective and organized charging station tailored to your needs.
Why Set Up a Charging Station?
Charging stations offer several benefits:
– Organization: Keep all your devices and cords in one place.
– Efficiency: Charge multiple devices simultaneously without searching for outlets.
– Safety: Reduce the risk of tripping over cables or using damaged cords.
– Space-saving: Avoid clutter on desks, countertops, or nightstands.
Step 1: Choose the Right Location
Finding the ideal spot for your charging station is essential for convenience and safety.
– Accessibility: Pick a location that everyone in your household can easily reach, such as a living room side table, kitchen counter, or office desk.
– Power Source: Ensure the spot is near electrical outlets to plug in chargers without extension cords.
– Surface Size: The surface should be large enough to hold all devices you plan to charge.
– Ventilation: Avoid placing your station in enclosed spaces that might cause devices to overheat.
Step 2: Gather Your Charging Devices
Identify the types and number of devices you want to charge regularly. This may include:
– Smartphones
– Tablets
– Laptops
– Smartwatches
– Wireless earbuds
– Portable power banks
– E-readers
Make a list to determine the number and type of chargers or cables needed.
Step 3: Select Charging Equipment
Choosing the right charging equipment ensures safety and efficiency.
Charging Hubs and Stations
Consider multi-port USB charging hubs or wireless charging pads that allow multiple devices to charge at once.
– USB Charging Stations: These come with multiple USB ports and sometimes include fast-charging capabilities.
– Wireless Charging Pads: Ideal for compatible devices to charge without cables.
Cables and Adapters
– Use high-quality cables certified by manufacturers or reputable brands.
– Have the correct adapters for different devices (e.g., USB-C, Lightning, Micro USB).
Step 4: Organize Cables and Chargers
Cable management is key to keeping the station tidy.
– Cable Clips or Holders: Use adhesive clips to keep cables in place.
– Cable Sleeves or Tubes: Bundle cables for a tidy look.
– Label Cables: Use small tags to identify cords easily.
– Avoid Overlapping: Arrange cables so they do not tangle.
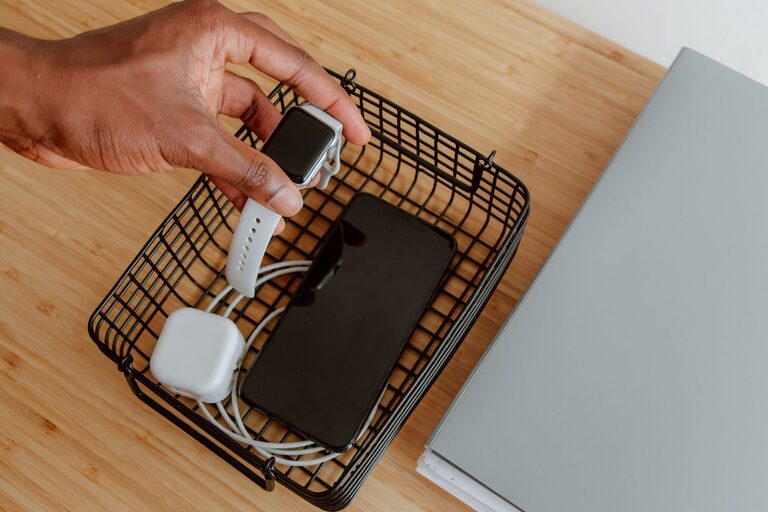
Step 5: Incorporate Storage Solutions
Adding storage can make your charging station more functional.
– Small Bins or Boxes: Store accessories like earphones, chargers, or memory cards.
– Drawer Units: If available, a drawer can hold extra cords and power banks.
– Device Stands: Keep phones or tablets upright for easy viewing while charging.
Step 6: Maintain Safety and Cleanliness
Safety should be a priority to prevent accidents or damage.
– Check Chargers: Use chargers certified for your devices.
– Avoid Overloading Outlets: Don’t plug too many devices into one outlet.
– Ventilation: Ensure devices have space to breathe and don’t overheat.
– Regular Cleaning: Dust the area and cables periodically.
Bonus Tips for an Efficient Charging Station
– Use Surge Protectors: Protect devices from power surges.
– Consider Smart Chargers: These adjust power output based on the device’s needs.
– Personalize Your Station: Add labels or decorations to make it attractive and easy to use.
– Charge Overnight Safely: Avoid leaving devices connected for extended periods unattended.
Conclusion
Setting up a charging station is a straightforward way to keep your devices powered and your space organized. By selecting a convenient location, using the right equipment, managing cables, and incorporating storage, you can create a neat and efficient charging hub that benefits everyone in your home or workplace. Start with small steps, and adjust as your charging needs grow!